Curved diamond crossings for the M&N RR - Part 8
Adding the wood ties to the diamond itself
With rail work complete, it’s time to get this crossing ready for installation on the layout. There’s only a few gaps for wood ties under the crossing itself, it’s a simple matter to glue the ties in place using contact cement (Pliobond). Be aware that Pliobond has a strong smell of rubber. When I use it in the kitchen I get complaints from the other inhabitants of the house.
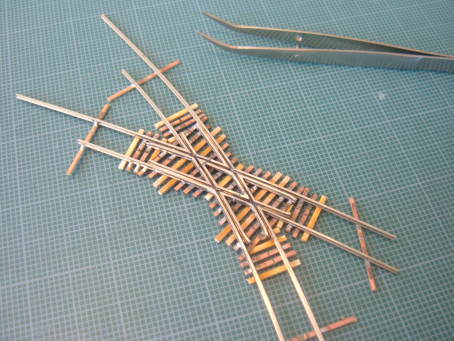
I elected to trim the ties after installation because I was impatient to get going! A more prudent approach is to cut them each to length first. Ties were selected according to the length of the ties adjacent to the gap to be filled. I used a combination of 8.5’ ties from Kappler and 16’ turnout ties from Fast Tracks.
Make sure the rail base is clean and smooth before gluing the ties. I cleaned the underside of the rails using a q-tip moistened with rubbing alcohol.
Secure the ties by putting a drop Pliobond (contact adhesive) on the tie and on the base of the rails using the flat end of a toothpick. Once the Pliobond had dried and was tacky, I placed each tie in it’s location by hand. You can do these as a batch to save time.
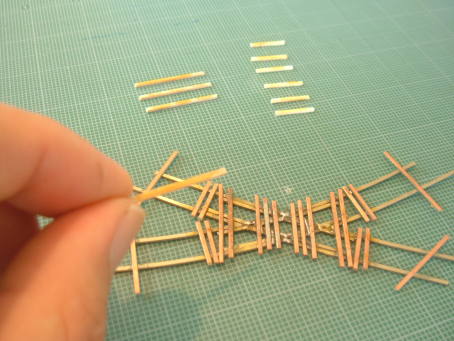
A few of the ties near the frogs are not full length. I cut each of these to fit then used Pliobond to cement them in place. I was careful to put some glue between the tapered end of the partial tie and the adjacent pcb tie to ensure the new tie was well secured.
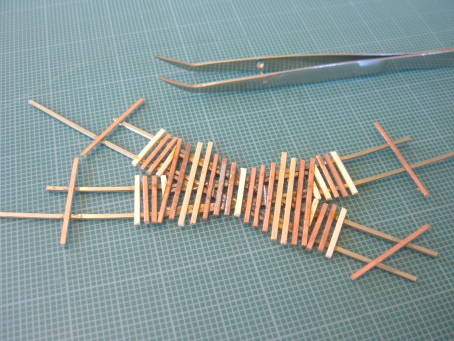
Here’s the top view to the crossing before trimming the ends of the long ties with a chisel blade hobby knife.
Next steps
Installing the crossing on the layout.
 Steve Cox
Reader Comments